
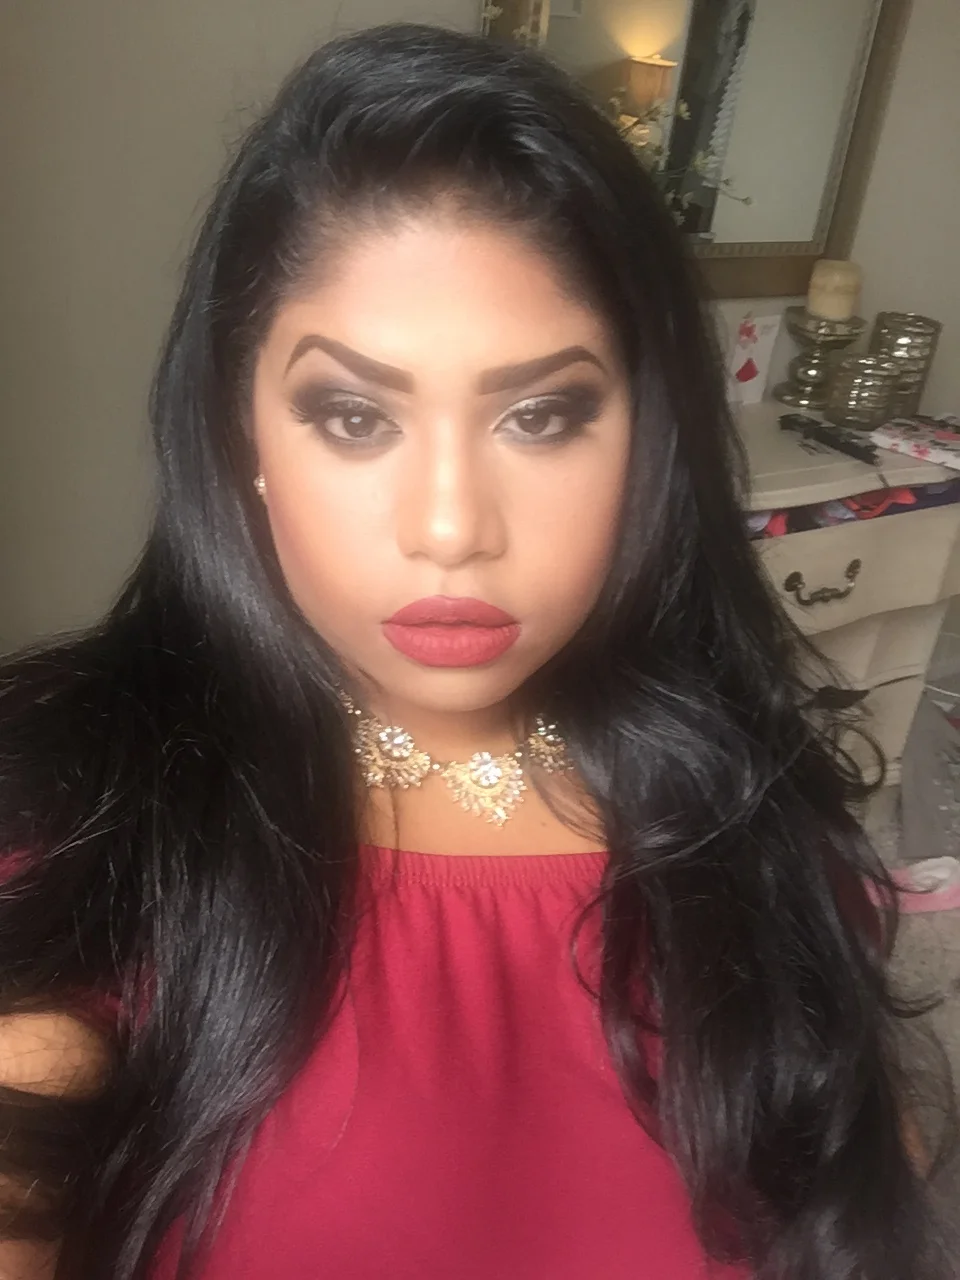
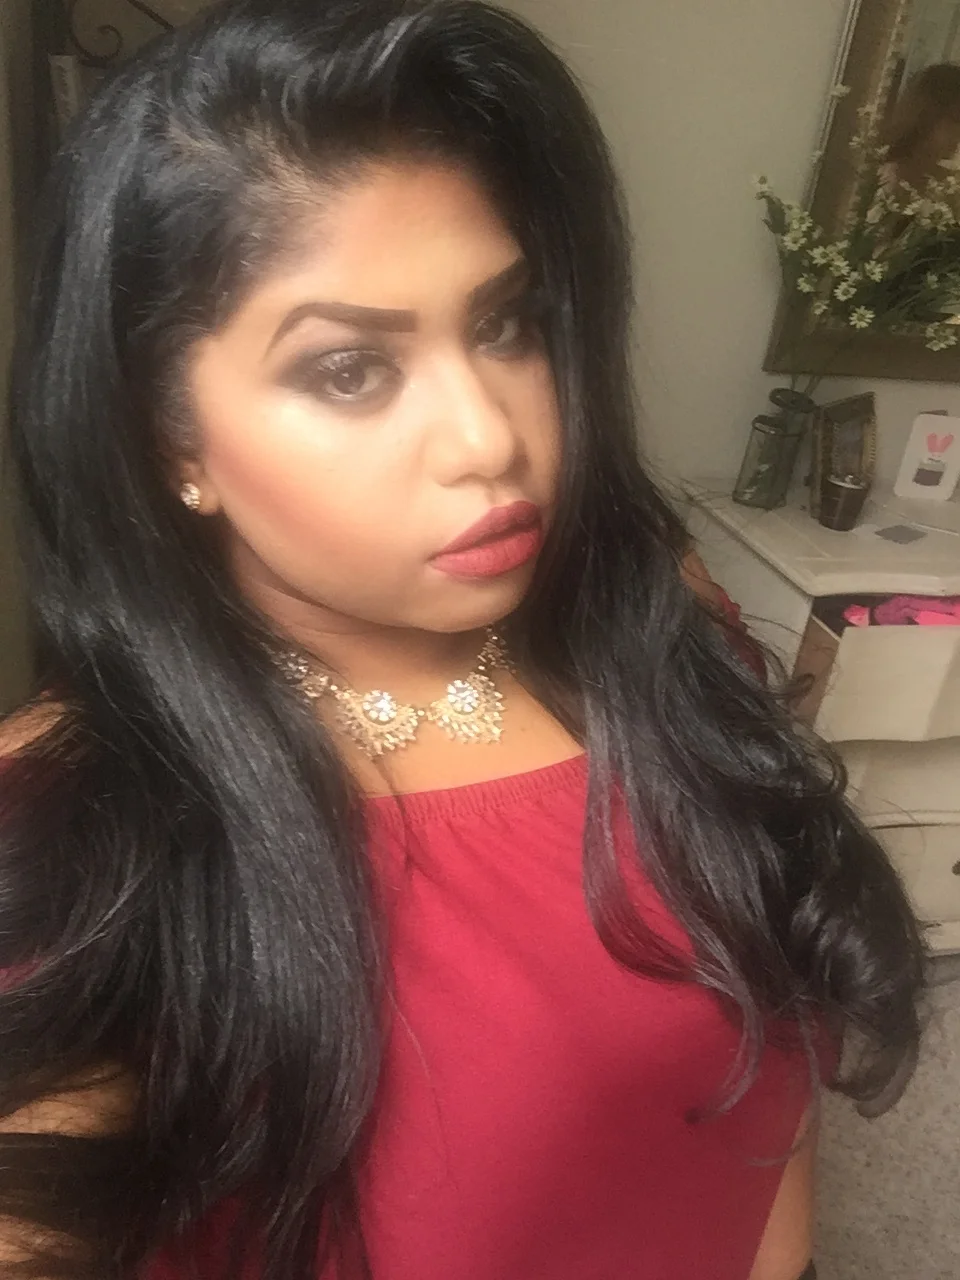
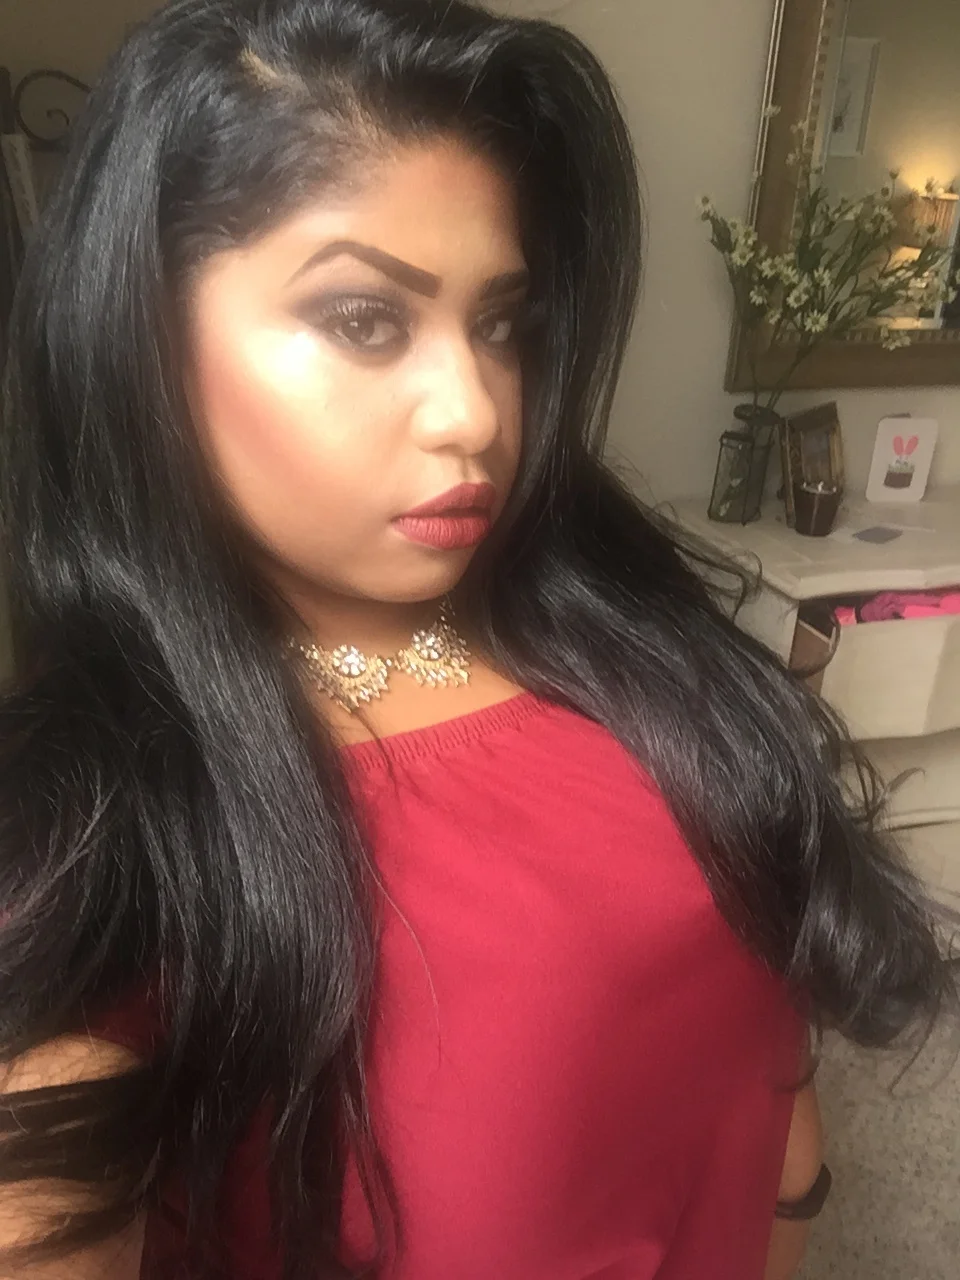
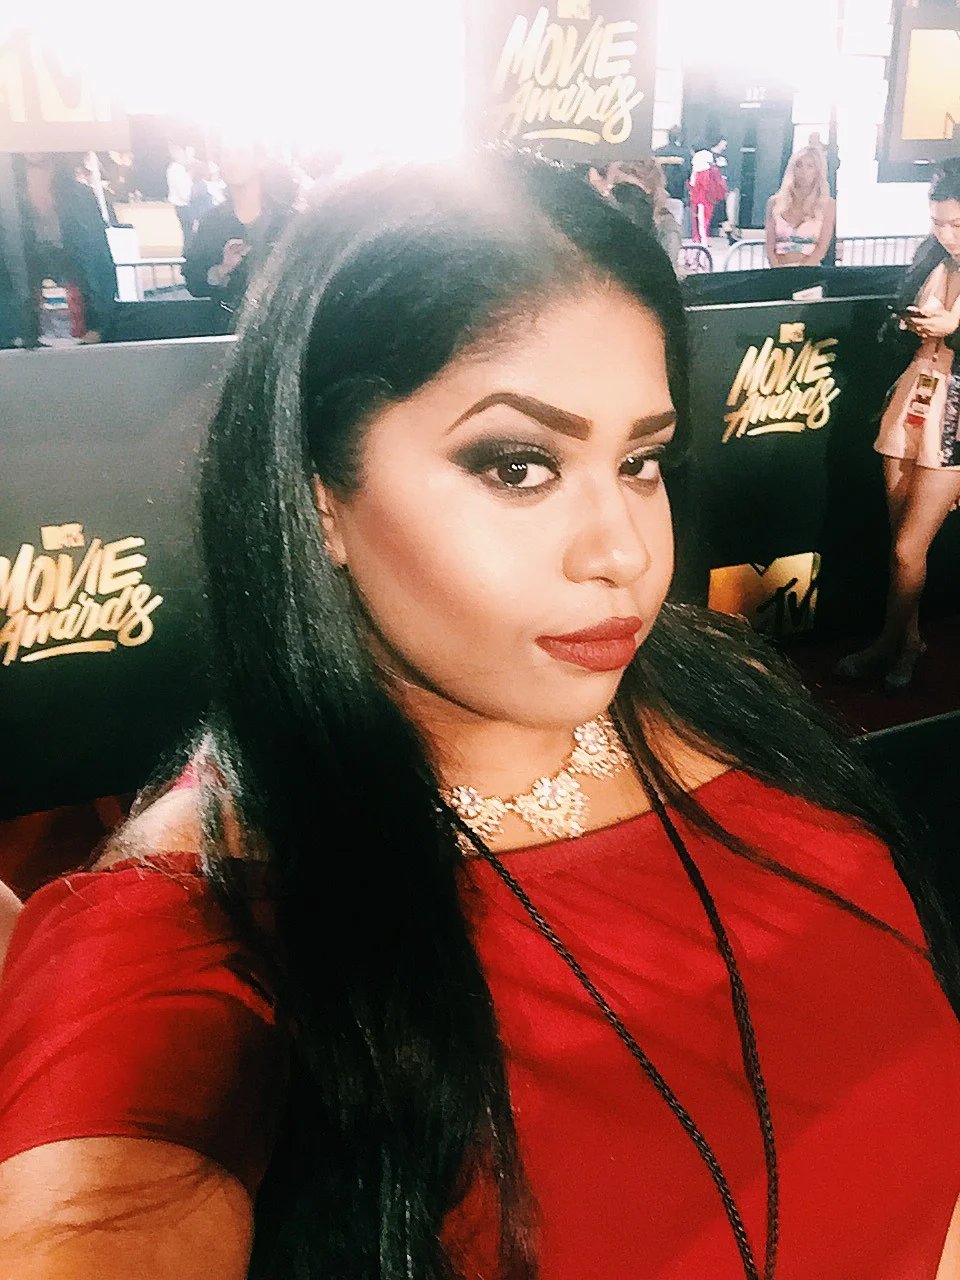
MTV Movie Awards 2016 Red Carpet Look
Any red carpet calls for a reason to get glam AF 💁🏽Whether you're working an award show or attending it, looking good is always a confidence booster. I had the absolute pleasure of working and attending the MTV Movie Awards last week and what a better way to beat the rare L.A. rainy day than with a look that can defy any weather ☔️
Check out the gallery with tips + products I used to create the look below. Have a question? Leave a comment below and share your version of this look on Instagram using #GlamXSarita

See this Instagram photo by @saritanauth * 24 likes
Hair: Carly | Nail Bar & Beauty Lounge in Beverly Hills
Step 1: Prep + Prime
Always start your makeup off with a fresh clean face. I used Estee Lauder's Perfectly Clean Multi-Action Foam Cleanser/Purifying Mask to cleanse and the Matte Perfecting Primer all over my face and neck.
I recently switched from Lancome's Teint Idole LongWear foundation to Estee Lauder's Double Wear Stay-in-Place Makeup foundation and it was a great choice. Both brands have a wide range of colors and formulas for all types of skin -- making it worth the cost. From there, I used two strips of regular Scotch tape to tape under my eyes and angle to the end of my brows. Prep with Urban Decay's Eyeshadow Primer Potion over the lids. When doing glam makeup, I always do my eyes first. This helps prevents fall-out from shadows sticking to your foundation when you can easily brush it away without foundation.
Step 2: Glamour-eyez
If you know me well, you know I can't stop talking about Morphe. Would you believe me if I said I trudged all the way from Hollywood to Burbank in the rain to go to the Morphe flagship story for a palette? True Story *whispers* and it was worth it. I used a mix of the 35K + 35O palette (which is this infamous palette I journeyed for) for a smokey look. In true RuPaul's Drag Race, the tape SNATCHED my eyes for a high + fierce look. I used a lighter cream shade in the corners of my eyes to brighten my eyes and used a small blending brush to brush the excess under my brows, for highlight. My new favorite lashes are the Eylure Grand Glamour | Vegas Nay Lashes. These lashes are super affordable and as glam as they come. I did have trouble with application as they are pretty stiff. I would recommend using a heavy strength lash glue like Duo Lash Adhesive
and a tweezer to assist in getting the lashes close to your lashline as possible. Because fake glam lashes are heavier than most lashes, curl lashes after the glue has completely set. Coat with your favorite mascara -- im starting to like the Tarte's Lights, Camera, Lashes Mascara. Once I complete steps 3 + 4, then I will add a liquid liner. My #1 choice is the NYX Collection Noir Liquid Black Liner.
Step 3: Brows | Concealer | Foundation
For my brows, I comb them with a clear brow gel, like Anastasia Beverly Hills' Brow Gel. I then used the Anastasia Beverly Hills Dipbrow in Ebony to shape my brows and conceal along the edges with a concealer one shade lighter than my foundation for a sharper look. I remove the tape from under my eye and brush away any excess shadow. I used a compacted foundation brush to buff foundation over my face starting at my jawline. There is never ONE way to apply foundation. I would say, based on your skin-type, choose a method you are most comfortable with. Unless you are a pro, a glam makeup session before you hit the carpet is NO PLACE for trying new things. Once I buffed out all of my foundation, I use IT Cosmetics Bye Bye Under Eye Concealer in Neutral Medium and feather out the product under my eye using IT Cosmetics Airbrush Blurring Concealer Brush #103. Use remaining product on your cupid's bow and chin. Using small circular motions, I buff out the concealer into my already wet foundation to create an all over dewy look (sounds weird right? Don't worry, the fun part is next)
Optional: I took a small concealer brush and slimmed down my nose using the darkest and lightest shades in the Anastasia Beverly Hills Cream Contour Kit. Always remember to blend, you don't want your nose to look like a JFK landing strip!
Step 4: Contour + Highlight To The Gawdz
If you're like me and look like a potato without contour, please do so if you are going to be on camera, why? Because I rather look fierce in a candid shot than fade into the background. For my cheeks, I defined with Morphe's 06PW Warm Pro Definition Palette and blended out and up. I also used the lightest shade in the palette to slim the sides of my nose (if you used cream contour to define, no need to re-apply unless you need a bolder definition.) I used Becca x Jaclyn Hill Shimmering Skin Perfector Pressed - Champagne Pop to highlight just above my contour. This is the BEST highlighter as it looks amazing on every skin color. Dust remaining product over your cupid's bow and chin for extra highlight.
Step 5: Lips 💋 + FINISH
If your lips don't look like a crack addict at this point, you're doing it wrong. Leave that excess concealer and foundation on and line your lips with a BOLD red like MAC's Lip Pencil in Beet
. For a death defying scarlet look, use Gerard Cosmetics' Hydra Matte Lipstick in Ruby Slipper
. Seal your look with a few sprays on my new OBSESSION -- Tarte's Rainforest of the Sea™ Marine Boosting Mist. This spray is a four-in-one primer, makeup setting spray, hydrating mist, and skin refresher. I must say, it has done wonders for my look and also the travel size bottle is perfect to extra hydration once your are out and about.
With this additional finish, your look will last 8-12 hours without retouching (or anyone touching your face.)
Hope you enjoyed this step-by-step tutorial!
xoxo,
Sarita